Monday 30 June 2014

Stamping with water...

Hi everyone,

Here's another a card I made to enter into the awesome Hero Arts 'One layer Challenge' where the challenge is, yup, you guessed it, to use only one layer.

And here it is...


I started with a piece of watercolour card, scored in the middle to create a top folding tent card.  I covered my whole card front in distress inks: Mustard Seed, Squeezed Lemonade, and Spiced Marmalade, making sure I put a lot of ink down.  I then spritzed my Hero Arts 'Starburst' background stamp with water, and stamped this onto my cardstock;  so instead of stamping with, and adding more, ink, I removed some, creating this awesome 'bleach' look and leaving me with a gorgeous two tone effect.  I then created some inky 'splatters' using Picked Raspberry distress ink and a water brush.  My 'Make a Wish' sentiment is from Hero Arts 'It's your day' set and I stamped it right in the centre of the sunburst design, for maximum effect, in Ranger's 'black sparkle' embossing powder..  I then added a few black enamel dots and there you have it.

I have to admit, I love how this card turned out and I hope you do too.  As always, please feel free to comment.

See you next time.

jillxxx   


Be a hero...

Hi everyone,

Today I'm sharing a few cards I made to enter into the 'One Layer Challenge', going on over at the Hero Arts Blog,

I literally LOVE Hero Arts so was the perfect excuse to get all my stamps and inks out and have a good play.  The clue is in the title, it's a 'one layer' challenge, 'use one piece of cardstock as your card base, with no additional paper layers'.

And here's my first effort...


My card base is made from watercolour paper and I started by heat embossing the 'flower dot background' onto it in clear embossing powder.  I then masked off my butterfly and coloured it using Tumbled Glass and Stormy Sky distress ink and added some extra colour and detail to it using Dusty Concord and Mustard Seed distress ink as watercolour paint.  I then painted the whole of the background using two different shades of yellow/orange Peerless watercolour paint.  Once all the paint was dried, I ironed the embossing powder off to leave a more 'batik' effect. The sentiment is from the 'Just a note' set as I thought it matched the design perfect, and is heat embossed in Liquid Platinum.  I added a few sequins to embellish and there you have it.

I really hope you like it and please feel free to comment.

jillxxx


Be the boss of Mica Boss...

Hi everyone,

Now this is a completely different type of post for me, but I thought it might be of some interest to somebody...somewhere...maybe...so thought I would share.

I have had a product called 'mica boss', or 'sticky embossing powder' as it is also known, in my stash forever, but my efforts in using it have gone pretty much unrewarded and it has been put back and forgotten about!  So I decided enough is enough... I WILL be the boss of mica boss (sorry...couldn't resist), so I had a good ol' play around with it, and thought I would share my findings here.

Mica boss/sticky embossing powder is exactly what it sounds like, it is used in exactly the same way as embossing powder, i.e poured over a sticky ink like Versmark and heat up/melted, the difference is, it stays 'sticky' until something is added to the top of it.  It takes all sorts of mediums, like gilding flakes, foils, mica powder and glitters and is a lot less messy than glue!


So like I say, it is used in much the same way as normal embossing powder...stamp your image in a sticky ink (my preference is Versmark) and heat with your heat tool.  I found that it is a lot more effective if you don't over heat it, and also, apply your chosen medium as quick as possible.  I started with gilding flakes, so had everything at the ready to apply once I had melted it...


I got my heat gun nice & hot first, then zapped the powder as quick as i could, as soon as the powder has melted, move on to the next area as 'over-cooking' the sticky embossing powder really effects how sticky it is, and can lead to some pretty unsuccessful results.  As soon as it has all melted...add your chosen medium...


As you can see in the very top photo, I had 2 different types of  sticky embossing powder and wanted to test them both to see if there was any difference.  I found, without a shadow of a doubt, the Ranger 'sticky' is by far superior and gives a much more clear and crisp result.


So once I felt I had my technique down (don't over-heat and work fast - be prepared!), I was ready to try a few different mediums...


I definitely should have took more detailed photo's, but these are all my different results using gilding flakes, glitters, mica powders, and foils.

I really enjoyed using this product once I got used to it, and found it so much easier than messing around with glues!  I would say it worked best with gilding flakes and glitter and the results can look pretty awesome.

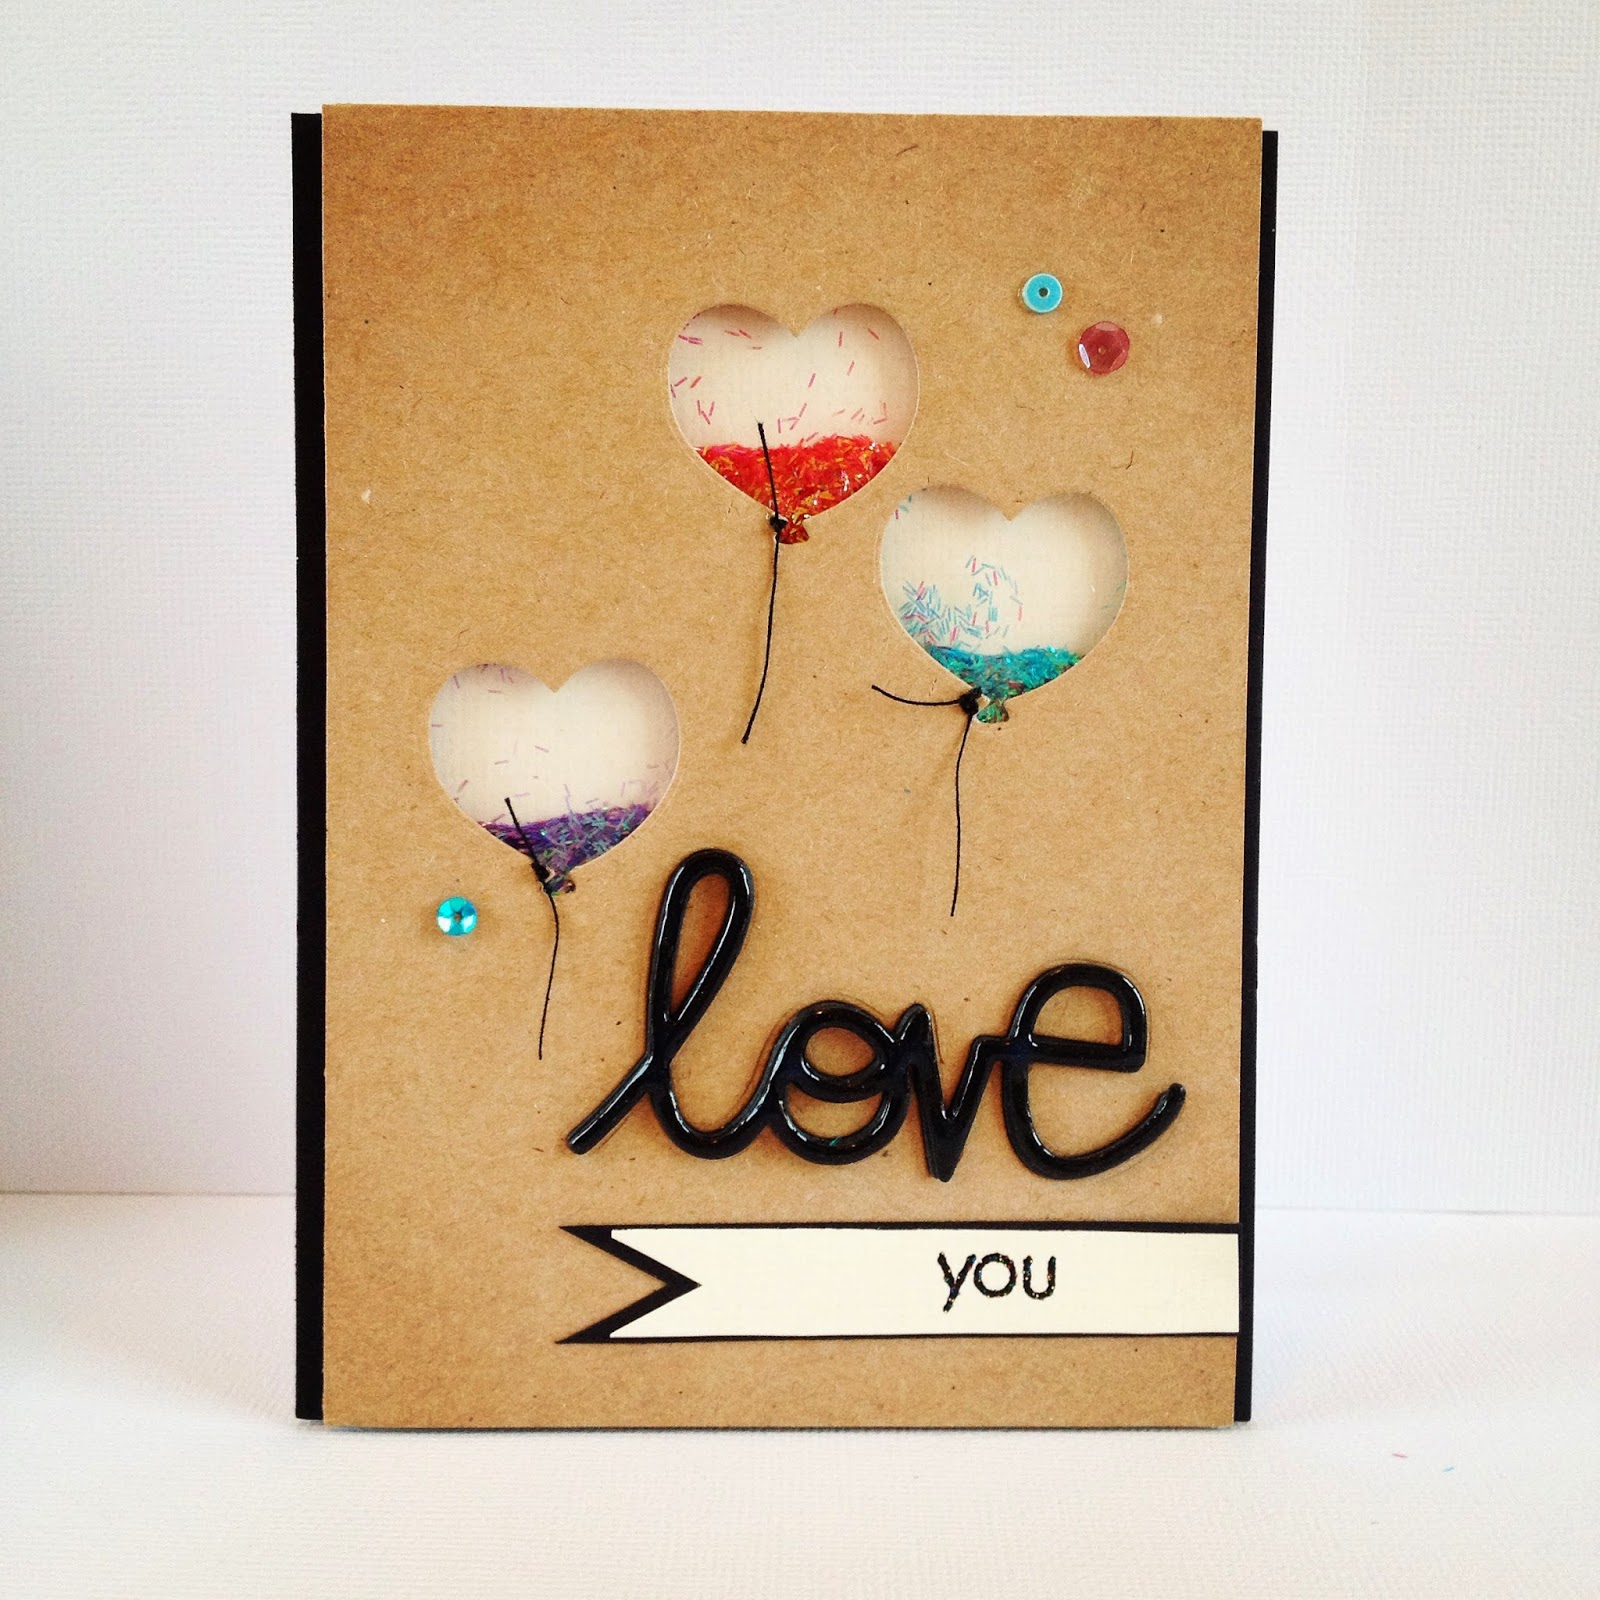
Here is a selection of my favourite results made up into simple little cards.


I hope if you haven't already, this might encourage you to give it a go, it's a lot of fun and very versatile.

I hope to see you again soon, thanks for stopping by.

jillxxx


Sunday 29 June 2014

Shake it with love...

Hi everyone,

Just want to share a shaker card I made just for the fun of it;  and here it is...


I love a good shaker card, they're just so fun and tactile with so many possibilities...surely a shaker card can put a smile on anybodies face :)  

So,  I started with a piece of kraft card and die-cut these three adorable heart balloons from Paper Smooches 'balloon' set, and covered them, from the back, in acetate.  I then followed the shape of the balloons in shaker tape to create little self-contained compartments in which to pop my Martha Stewert 'Tinsel glitter'.  Once my little balloons were full of glitter, I then covered the whole thing with a piece of cream card. Then, to make the balloons stand out as actual balloons, I added little strings to them with black thread. I then die-cut 6 or 7 Paper Smooches 'love word' die-cuts and glued them together to create a more substantial sentiment, in-laid it into the card base, and covered in glossy accents.  I  made a small cream on black banner as a mat to stamp my 'you' onto, embellished with a few complimentary sequins and there you have it.  

I love how this card came out...and my favourite thing about it is that Simon Says Stamp 'liked' it on Instagram :) :) :) ...talk about a compliment...talk about making a girl happy!!!  I can't tell you how over the moon that made me :) :) :) 

As always,  I hope you like it and would love to read any comments you are kind enough to leave.

jillxxx

Monday 23 June 2014

Do more of the things you love...

Hi everyone,

A quick post to share another card I have made for Neat and tangled 'Little tangles' challenge, which this week, is 'watercolour'.  I love Neat and tangled stamps, and I love watercolour, so it's no surprise that I''m jumping all over this one haha.


And here's what I came up with...


I made a mask by die-cutting the Lil -Inker 'stitched butterfly' from an Inkadinkado masking sheet, and used both the positive and negative parts to create this effect.  I masked off the background/surround to start with and pulled my card through some misted distress inks to colour the butterflies (I think it was mustard seed, peacock feathers, spiced marmalade, and picked raspberry).  Once dried, i then masked off the butterflies so i could watercolour the background/surround, again using distress inks as my watercolour medium (picked raspberry and mustard seed).

I then stamped and heat embossed the delightful 'Dream' stamp in 'liquid platinum' embossing powder and embellished with some ribbon banners, a wee little ribbon 'jean tag', and some little silver hearts which I covered in glossy accents.

I then matted onto black card, and foam mounted the whole thing onto some pool coloured glitter card, just for a hint of sparkle.

I am really happy with how this turned out, I love the contrast between the two separate watercolour washes, and think it almost looks like tie-die.

I hope you like it, please feel free to leave a comment

jill xxx

Simon says love your friends :)

Hi everyone,

A quick post to share a card I made for Simon Says Stamp Wednesday challenge, which this week is 'You gotta have friends', a lovely idea for a challenge to create something for a friend.

And here's what I came up with...


This is actually an acetate card that I planned on being clear, but I made a last minute change and decided to add that lovely pool glitter card on the back - I'll post pics of the card as I planned it also, and see which you prefer.

The stamp set I used is Avery Elle's 'Red & Goldie', which I LOVE!!!!  It is just so cute. I coloured my image using distress inks as watercolours and trimmed with a little black card and some yellow polka dot paper from the amazing Lawn Fawn 'Lets polka' pad.  

I finished the card with some cream twine and a small wood veneer heart which i coloured and clear heat embossed.

Here is the card before I added the pool glitter card, I'm still undecided which one I prefer as I do love an acatate card, but I do really like the contrast between the pool and the yellow.  Hmmm, what do you think?


I hope you like it, please feel free to leave a comment.

jill xxx


Saturday 21 June 2014

Make the day special #3

Hi everyone,

Just wanted to share another card I made for the blog challenge over at Make the day special.  It's their 3rd challenge, and this time 'all you have to do is make a project based on the sketch', and here it is...


and here's my second effort...


I thought I'd try something a little different so decided to do a clear card.  

So, after making my card blank from acetate I die cut the Paper Smooches 'Notebook basic die', and watercoloured it using distress inks.  I wanted to keep it quite light and dreamy so used, Spun sugar, Tumbled glass, and Broken china.  I added some extra interest to the piece by stamping small stars from the Mama Elephant 'make a wish' set in the same colours, plus a few teeny silver ones.  I then die-cut Paper Smooches 'Love' die several times and built it-up to make a more substantial sentiment.  I then heat embossed the top layer in liquid platinum embossing powder and in-laid this into my notebook to give a cleaner, neater finish.

I decided to make my little banner from ribbon, which I attached using a lovely sparkly pink brad.  I then embellished with a few little Mama elephant stars from the 'creative confetti cuts' die, also heat embossed in liquid platinum, and there you have it.

I was pretty chuffed with how this card came out.  I love the simplicity of it ...but... boy oh boy did I underestimate what an absolute nightmare acetate is to photograph ha ha.  So I hope you can see what you're looking at o.k!!!

Well, as always, I would love to read your comments so please feel free to share them.

Thanks for stopping by xxx

Friday 20 June 2014

Neat and tangled watercolour challenge...

Hi everyone,

A quick post to share a card I have made for the Neat and Tangled blog challenge, which this week is...wait for it...watercolour :) :) :)


Anyone who has ever glimpsed at my page before will know it's pretty much my favourite thing in the world, and Neat and Tangled stamps are just sooooo perfect to use with it so...well, how can a girl resist!

And here's my card...


I created the background by misting some distress inks on my craft sheet and pulling my watercolour paper through it (mustard seed, spiced marmalade, scattered straw, and dried marigold).  I then stamped the delightful 'My favourite' stamp in a really pale yellow colour and then traced over the top in Peerless watercolour paint (Japonica Scarlett and Orange yellow).  I love how this gives the whole image that awesome watercolour effect instead of it being block ink.  I then gave the card a few 'flicks' with my brush to get some nice 'splatters', and embellished with a couple sequins, and a small wood veneer heart that I coloured and clear heat embossed.  

I love the colours on this card, we don't get much sunshine here in Newcastle, U.K, so it's lovely to create my own :)

I hope you like it, please feel free to leave a comment xxx


Thursday 19 June 2014

Make the day special...

Well, it's no secret how much I love the folk over at Make the day special. They're always on the ball with the supplies they carry...the only problem is that I neeeeeeed it all and spend far too much in their online store haha.  So I thought I'd make good use of my swag, and play along with their monthly challenge.

This month the challenge is a 'sketch' to use as inspiration, and here it is...


and you can find all the details here...


And here's my entry...


I have been hoarding my Lawn Fawn 'Into the woods' stash since it was released last year haha, I just couldn't come to terms with using it, I just wanted to look at it, & stroke it, & love it haha....but then the new releases came along, and I thought, 'be brave', Jill, and get cutting!  So I put my big girl pants on & went for it!

The backing papers are from Lawn Fawn's 'into the woods' paper pad and I used my Avery Elle 'custom panels' to cut my shape perfect.  I then built up my Lawn Fawn 'hello' die by cutting it out of yellow card stock several times, adhering them together, and in-laying it into my background.  I then made it 'pop' by covering in glossy accents.  The banner I cut out of vellum and added the neat and sweet little arrow stamp from Avery Elle's 'oh happy day' set, and embossed it in Ranger 'liquid platinum' embossing powder.  I then embellished with a cute little bow made of twine, and a few little sequins.

And there you have it.

I do hope you like it.  I would love to know your opinions so please feel free to leave a comment.  See you next time.

xxx